

Tomato Fertilizing Schedule: A Stage-by-Stage Guide
The ideal tomato fertilizer schedule begins with a low-dose liquid feed for seedlings, followed by a balanced, slow-release granular application at transplanting. Once blossoms appear, transition your tomato feeding schedule to a high-potassium, low-nitrogen formula applied every one to two weeks to maximize fruit size, flavor, and overall yield.
Why a fertilizing schedule matters
Growing tomatoes is one of the most rewarding projects you can undertake in your home vegetable garden, but it requires a bit of strategy. Tomatoes are incredibly heavy feeders. In a matter of a few short months, they transform from delicate, tiny seeds into towering, sprawling vines capable of producing dozens of heavy, water-dense fruits. To support this massive physical transformation, your plants require an enormous amount of energy and nutrients.
However, you cannot simply dump a huge pile of plant food onto the soil in May and expect perfect results in August. A proper tomato plant fertilizer schedule is essential because a tomato’s nutritional needs drastically shift as it moves through its biological life cycle.
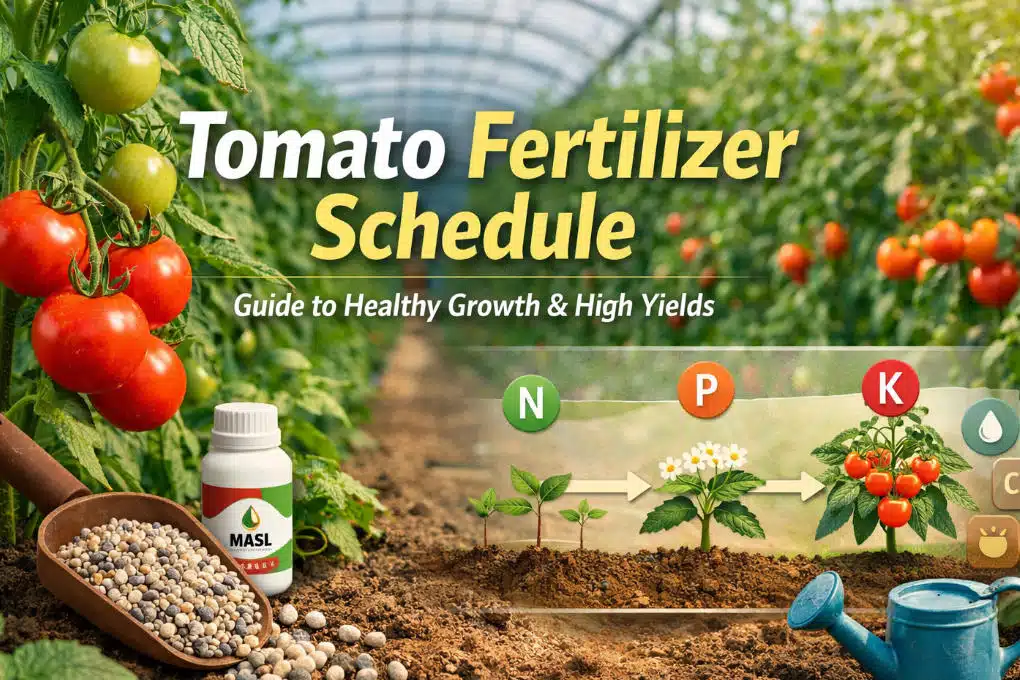
If you feed your plants the wrong nutrients at the wrong time, you risk ruining your harvest. This is where understanding the NPK ratio—Nitrogen (N), Phosphorus (P), and Potassium (K)—becomes crucial.
- Nitrogen fuels leafy, vegetative growth.
- Phosphorus drives deep root development and early flower formation.
- Potassium is the powerhouse behind fruit development, disease resistance, and water regulation.
If your fertilizer schedule for tomato plants relies heavily on nitrogen all summer long, you will grow a massive, dark green jungle of vines that produces absolutely no flowers or fruit. Conversely, if you starve the plant of nitrogen early on, it won’t have the structural size or the leaf canopy required to capture sunlight and support a heavy fruit load later. By following a structured timeline, you ensure your plants get exactly what they need, exactly when they need it.
Full schedule: seedling to flowering to fruiting to harvest
To take the guesswork out of feeding your garden, you can break your tomato’s life down into distinct phases. Whether you are growing determinate (bush) or indeterminate (vining) varieties, the biological milestones remain the same.
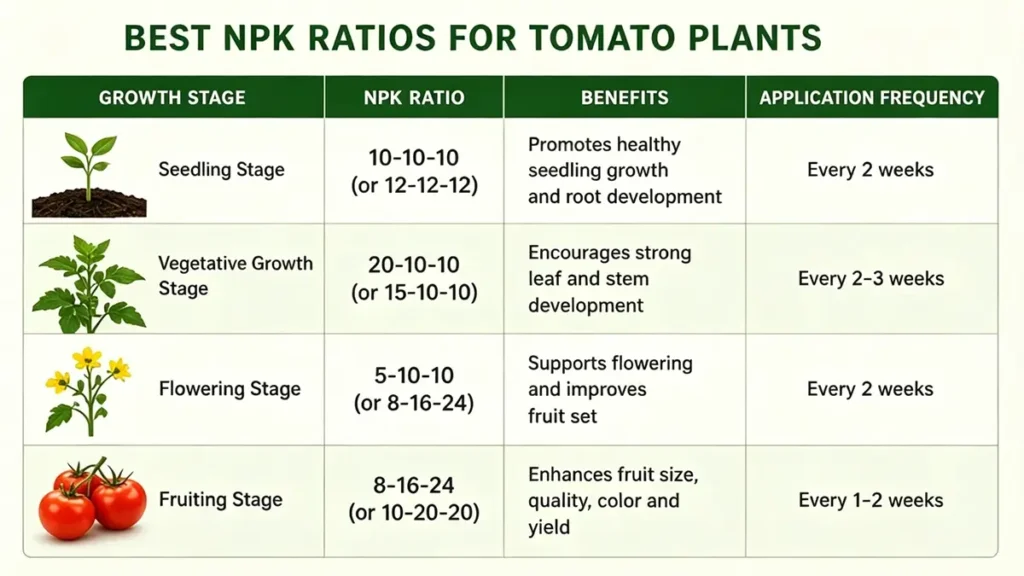
Below is a comprehensive stage-by-stage guide.
| Growth Stage | Timing (Approximate) | Ideal NPK Focus | Recommended Action |
|---|---|---|---|
| 1. Seedling | 2 to 4 weeks after germination | Balanced (e.g., 5-5-5), highly diluted | Apply a 1/4-strength liquid fertilizer once the first set of “true leaves” appears. |
| 2. Transplanting | Moving outdoors / into final pot | High Phosphorus (e.g., 3-4-6 or 5-10-5) | Mix slow-release granular fertilizer and a calcium source directly into the bottom of the planting hole. |
| 3. Early Vegetative | 2 to 4 weeks after transplanting | Balanced | If growth is slow or leaves are pale, apply a balanced liquid feed to encourage leafy vine growth. |
| 4. Flowering / First Fruit | When first blossoms open | High Potassium, Low Nitrogen (e.g., 5-10-10) | Switch to a bloom/fruit-boosting formula. Side-dress with granular fertilizer or begin routine liquid feeding. |
| 5. Peak Harvest | Mid to late summer | High Potassium | Maintain consistent feeding to support continuous fruit ripening. Apply liquid feed every 1-2 weeks. |
| 6. Late Season | 3 to 4 weeks before first frost | None | Stop all fertilizing. Force the plant to ripen existing fruit rather than pushing out new, doomed foliage. |
Phase 1: The Seedling Stage
When your tomato seeds first sprout, they rely entirely on the energy stored inside the seed casing. However, once they develop their first set of “true leaves” (the second set of leaves that actually look like miniature tomato leaves), they need outside nutrition. Start your tomato feeding schedule here with a very gentle, highly diluted liquid fertilizer. A quarter-strength organic fish emulsion or kelp extract works perfectly.
Phase 2: Transplanting
When it is time to move your tomatoes into the garden, your primary goal is to prevent transplant shock and encourage the roots to reach deep into the soil. At this stage, focus on phosphorus. Dig your planting hole and mix in a high-quality, slow-release granular fertilizer. This is also the ideal time to add a calcium source, like a handful of bone meal or crushed eggshells, directly into the root zone to prevent future issues with fruit rot.
Phase 3: Early Vegetative Growth
For the first few weeks in the garden, your tomato plant needs to build a sturdy main stalk and a broad leaf canopy. If you prepared your planting hole well, the plant may not need any extra food at this stage. However, if the lower leaves look pale yellow or growth seems stalled, you can apply a balanced liquid feed to give it a gentle nitrogen boost.
Phase 4: Flowering and First Fruit
This is the most critical pivot point in your tomato plant feeding schedule. The moment you see the first yellow blossoms opening on the vine, you must cut back on nitrogen and ramp up the potassium and phosphorus. If you are side-dressing with a granular feed, scratch a low-nitrogen formula into the top inch of the soil around the drip line of the plant.
Phase 5: Peak Harvest
As those tiny green tomatoes swell into large, heavy fruits, the plant’s demand for potassium skyrockets. Potassium is responsible for moving water and sugars into the fruit, which dictates the final size, texture, and flavor of your tomatoes. During peak harvest, maintaining a consistent feeding routine is vital to prevent the plant from exhausting itself.
Phase 6: Winding Down
About a month before your region’s first expected fall frost, abruptly end your fertilizer schedule for tomato plants. Feeding them late in the season encourages the plant to put energy into growing new flowers and leaves that will never have time to mature. By starving the plant slightly, you stress it into rapidly ripening the remaining green tomatoes already hanging on the vine.
Feeding frequency by fertilizer type (liquid vs. slow-release)
The frequency of your applications depends entirely on the physical format of the plant food you choose. When deciding between organic vs. synthetic options, or liquid versus granular, you are essentially choosing between a fast-acting energy shot and a slow, steady diet.
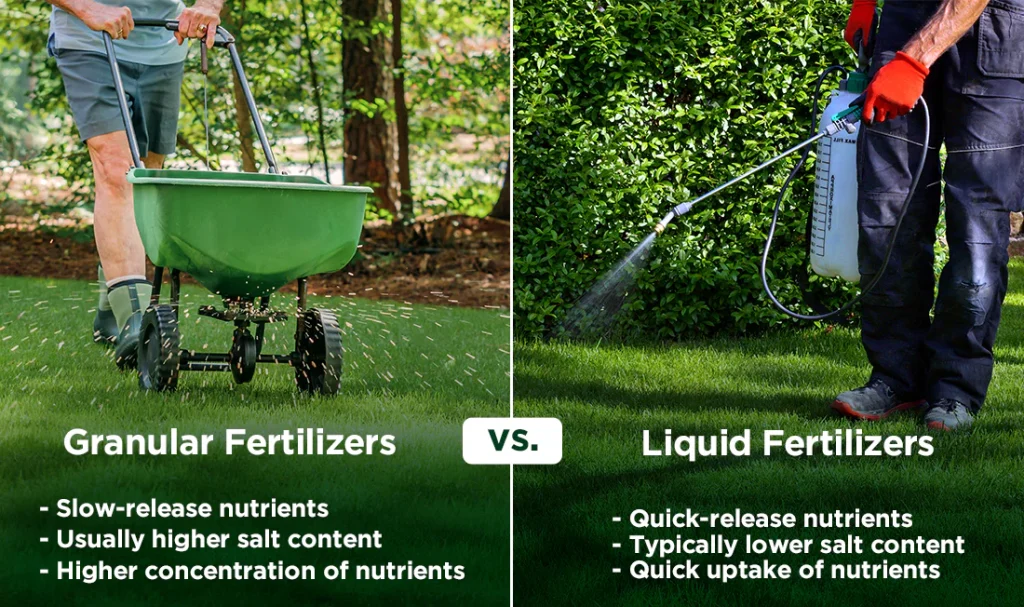
Liquid Fertilizers (Fast-Acting)
Liquid fertilizers, whether they are organic compost teas or synthetic water-soluble powders, deliver nutrients that are immediately available to the plant’s root system. Because they wash through the soil quickly, they must be applied frequently. If you rely solely on liquid feeds, you should apply them every 7 to 14 days. Liquid feeds are exceptional for correcting sudden nutrient deficiencies because the plant can absorb them almost instantly.
Granular Fertilizers (Slow-Release)
Granular fertilizers look like coarse sand or small pellets. You apply them by scratching them into the surface of the soil (side-dressing). They break down slowly over time through watering and microbial action in the soil. Because of this slow-release nature, granular fertilizers only need to be applied every 4 to 6 weeks. They are much less labor-intensive and provide a steady, reliable baseline of nutrition.
Drip Irrigation and Fertigation
For home gardeners with a larger plot or raised beds, setting up a fertigation schedule for tomato plants is a massive time-saver. Fertigation is the process of injecting water-soluble fertilizer directly into your irrigation system.
If you use a soaker hose or drip emitters, you can attach a simple fertilizer injector to your outdoor spigot. A dedicated tomato drip fertilizer schedule allows you to micro-dose your plants. Instead of a heavy liquid feed every two weeks, you can deliver a highly diluted, tiny dose of nutrients every single time your irrigation system kicks on. This mimics the constant nutrient availability found in commercial hydroponic setups and prevents the boom-and-bust cycle of traditional feeding, leading to incredibly consistent fruit growth and minimized splitting.
Common mistakes — overfeeding and underfeeding
Even experienced gardeners can stumble when it comes to dialing in the perfect nutrition plan. Here are the most common mistakes to avoid.
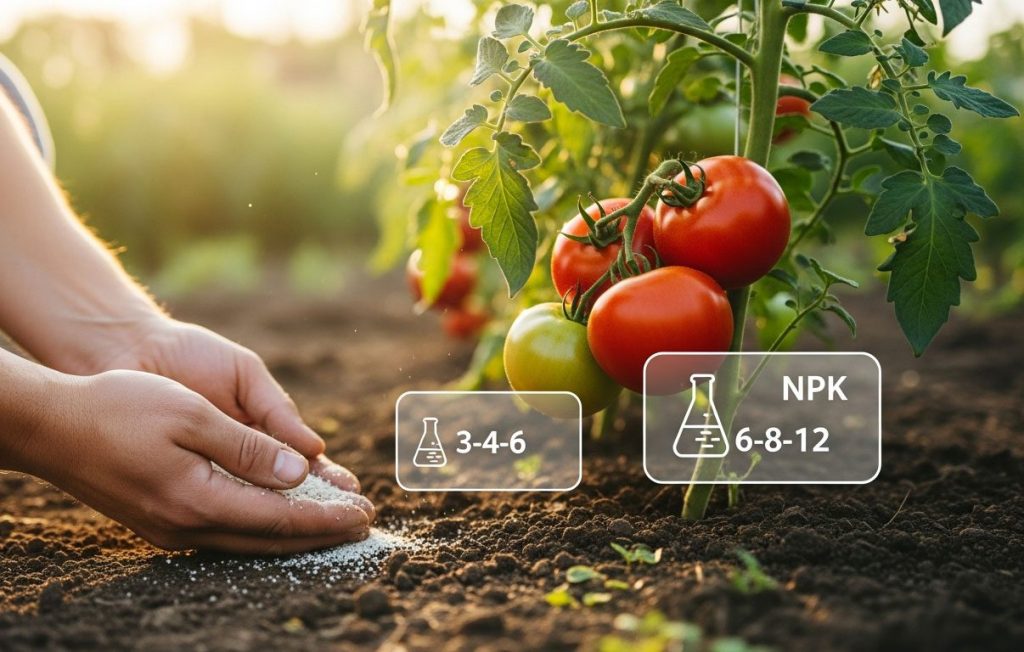
The Nitrogen Trap (Overfeeding)
The most frequent mistake is loving your plants to death with nitrogen. If you use a lawn fertilizer or a heavy dose of blood meal in the middle of July, your tomato plant will undergo a massive growth spurt. It will look like the healthiest plant in the neighborhood—dark green, thick, and bushy. However, it will drop its blossoms and refuse to set fruit. Once the plant enters the fruiting stage, you must restrict nitrogen.
Ignoring Calcium (Underfeeding)
Tomatoes are incredibly susceptible to blossom end rot, a heartbreaking condition where the bottom of the tomato turns into a black, sunken, leathery scab. This is not caused by a disease or a pest; it is a physiological disorder caused by a lack of calcium in the fruit.
Often, the soil has enough calcium, but inconsistent watering prevents the roots from absorbing it. However, if your soil is genuinely deficient, a standard NPK fertilizer won’t fix it. You must ensure your schedule includes a calcium amendment at planting. How to fix and prevent blossom end rot.
Applying Fertilizer to Dry Soil
Never apply granular or concentrated liquid fertilizer to a tomato plant that is suffering from drought stress. If the soil is bone dry, the sudden influx of fertilizer salts will draw moisture out of the plant’s fine root hairs, causing severe chemical burns. Always water your tomatoes deeply with plain water first, and then apply your fertilizer while the soil is still moist.
Fertilizing the Stem
When side-dressing your plants with granular food, never pile the granules directly against the main stem of the tomato plant. This can cause the stem to rot or burn. Instead, apply the fertilizer in a ring around the “drip line” of the plant—the imaginary circle on the ground that aligns with the outermost tips of the plant’s branches. This is where the active, nutrient-seeking feeder roots are located.
FAQ
How often should I fertilize tomatoes each week?
- If you are using a water-soluble liquid fertilizer, you should generally fertilize your tomatoes once every one to two weeks, rather than multiple times per week. If you are using a slow-release granular fertilizer, you do not need to feed them weekly; a single application every four to six weeks is sufficient.
When should I stop fertilizing tomato plants before harvest?
- You should stop fertilizing your indeterminate tomato plants about three to four weeks before your region’s first expected fall frost. Halting the nutrient supply stresses the plant slightly, forcing it to redirect all its remaining energy into ripening the existing fruit rather than growing new foliage.
Should I change my fertilizing schedule for container tomatoes?
- Yes, tomatoes grown in pots or containers require much more frequent feeding than those in raised beds or ground soil. Because frequent watering washes nutrients straight out of the container’s drainage holes, you should apply a half-strength liquid fertilizer every 7 to 10 days to replenish the depleted soil.
