

Propagating Tomatoes: How to Clone Plants from Cuttings
Propagating tomatoes is the simple process of growing a new, genetically identical plant from a cutting of an existing one. To do this, snip a healthy 4-to-6-inch sucker from your main plant, remove the lower leaves, and place the stem in water or moist potting soil until roots develop in 7 to 14 days.
Why this matters for healthy tomato plants
If you have ever spent a small fortune on specialty heirloom tomato seedlings at the nursery in spring, propagating tomatoes is a skill that will change your gardening budget forever. Every standard garden tomato (Solanum lycopersicum) possesses a unique biological superpower: the ability to grow adventitious roots. This means that any part of the green, fuzzy tomato stem can sprout roots when exposed to prolonged moisture and darkness.
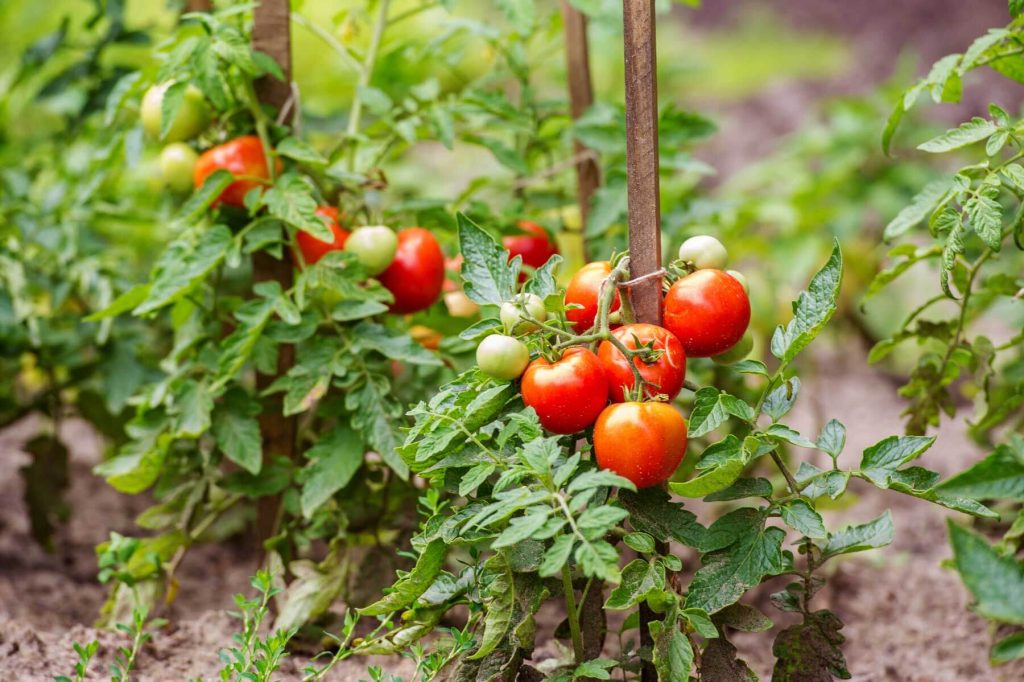
Learning how to propagate tomato cuttings allows you to take advantage of this natural biology. First, it offers an incredible cost-saving benefit. From a single healthy seedling bought in May, you can generate a dozen free, identical clones to fill your garden beds by June. This is especially useful for creating a succession planting strategy, ensuring you have a fresh batch of late-season tomatoes ripening just as your original plants begin to exhaust themselves in late summer.
Furthermore, propagating tomatoes is the ultimate backup plan. If a severe thunderstorm snaps the main branch off your prized cherry tomato, or if a hungry deer chomps the top off your best beefsteak, all is not lost. You can simply take the broken pieces, root them, and grow the plant all over again. It is also an excellent way to clone the absolute healthiest, most disease-resistant, and most vigorous plants in your garden, ensuring your entire crop shares those top-tier genetics.
For a broader look at everything your crop needs from seed to harvest, check out our complete growing overview.
Step-by-step instructions
Propagating tomatoes is incredibly forgiving, making it the perfect propagation project for both seasoned gardeners and absolute beginners. You can root your cuttings using two primary methods: water or soil.
Step 1: Identify and remove a “sucker”
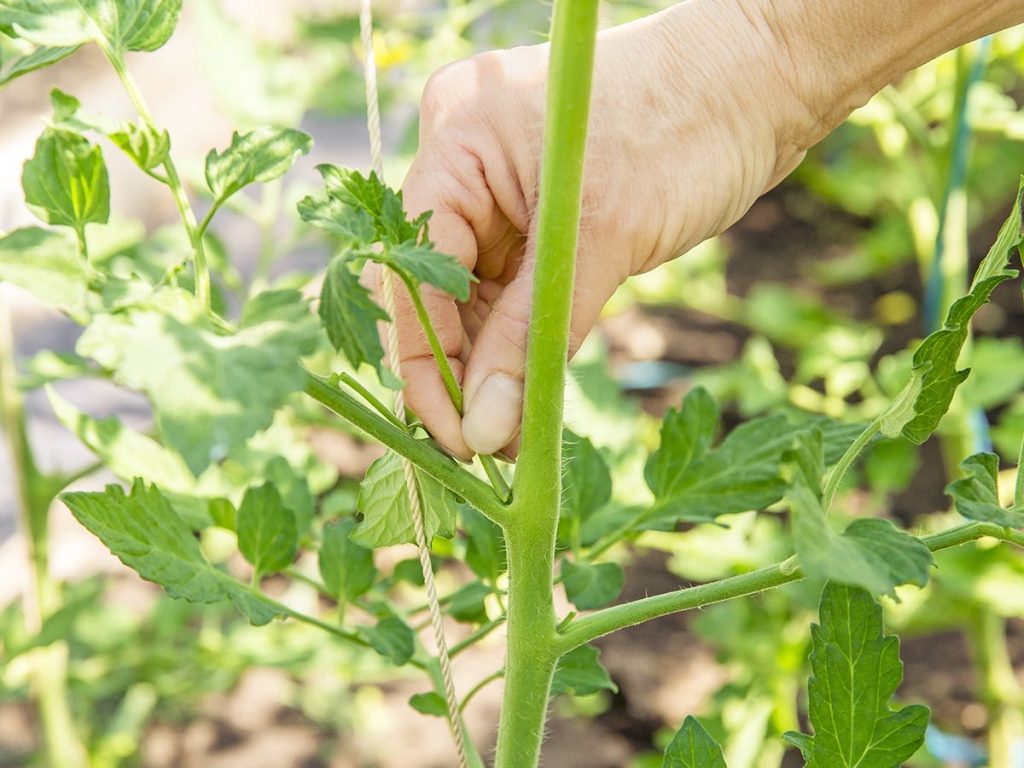
The best material for propagating tomatoes is a “sucker.” A sucker is a vigorous new shoot that grows in the “V” joint (the axil) between the main vertical stem and an established horizontal leaf branch. Allow the sucker to grow until it is about 4 to 6 inches long. Using a pair of clean, sharp pruning snips, cut the sucker off as close to the main stem as possible without damaging the main vine.
Step 2: Prepare the cutting
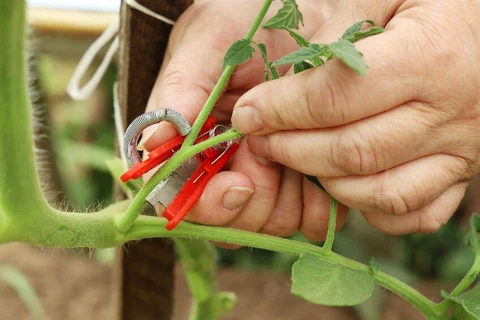
Once you have your cutting, pinch off the lowest leaves, leaving only the top two or three leaves intact. If the cutting has any tiny flower buds forming on it, pinch those off immediately. You want the cutting to redirect 100% of its energy into growing new roots, not trying to open flowers or ripen fruit.
Step 3: Choose your rooting method (Water vs. Soil)
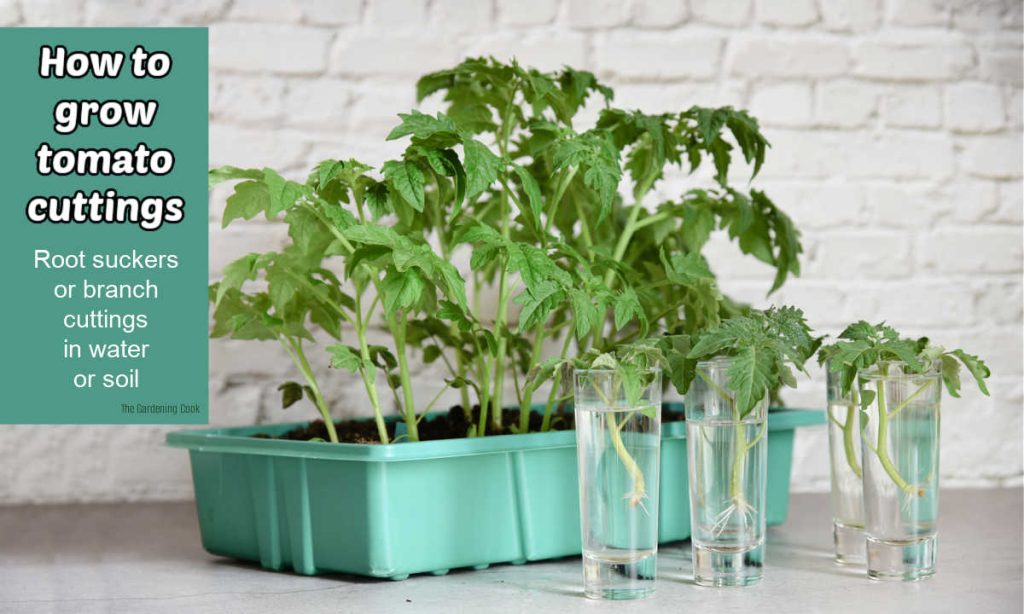
- The Water Method: Place the prepared stem into a clean glass jar or cup filled with room-temperature water. Ensure that the nodes (the bumps where you pinched off the lower leaves) are completely submerged, but keep the remaining top leaves above the water line. Place the jar in a bright, warm spot out of direct, scorching sunlight (like a bright kitchen window). Change the water every three days to prevent bacterial rot. You will see white roots erupting from the stem within a week.
- The Soil Method: Fill a small nursery pot with a lightweight, pre-moistened seed-starting mix. Poke a hole in the dirt with a pencil. (Optional: Dip the cut end of the tomato stem into a rooting hormone powder). Slide the stem into the hole so that the bare nodes are buried, and gently press the soil against the stem. Keep the soil consistently moist—but not soggy—and leave it in a warm, bright area out of direct afternoon sun.
Step 4: Transplanting
If you used the water method, wait until the roots are at least one to two inches long (usually 10 to 14 days), then gently plant the cutting into soil. If you used the soil method, gently tug on the stem after two weeks; if you feel resistance, roots have formed. You can now slowly introduce your new plants to direct outdoor sunlight over a few days before planting them in the garden.
Comparing Rooting Methods
To help you decide which propagation method fits your gardening style, review the comparison table below.
| Propagation Method | Average Time to Root | Risk of Transplant Shock | Best Use Case | Required Medium |
|---|---|---|---|---|
| Water Rooting | 7–10 days | Moderate (water roots are fragile) | Beginners, gardening with kids, visual monitoring | Clean tap or rain water |
| Soil Rooting | 10–14 days | Low (roots adapt to soil immediately) | Stronger outdoor plants, larger cuttings | Sterile seed-starting mix |
Common mistakes to avoid
While tomato cuttings are eager to grow roots, a few simple environmental errors can cause them to rot or wilt before they ever establish themselves. Avoid these common pitfalls:
Rooting in direct sunlight:
Because a fresh cutting has no roots, it cannot drink water fast enough to cool itself down. If you place a fresh cutting in direct, intense outdoor sunlight, it will quickly transpire all its internal moisture and wilt to the point of no return. Always root cuttings in bright but indirect light until their root systems are fully established.
Leaving flowers on the cutting:
Tomato plants are biologically driven to reproduce. If you leave blossoms on a cutting, the stem will stubbornly try to turn that flower into a fruit, starving the bottom of the stem of the carbohydrates needed to push out roots. Always pinch off flowers.
Using garden soil in pots:
If you choose the soil rooting method, never scoop dirt directly from your outdoor garden beds into a pot. Garden soil is too dense, does not drain well in containers, and harbors outdoor fungi and bacteria that will easily rot a vulnerable, open stem wound. Always use a sterile, lightweight, peat- or coir-based potting mix.
Taking cuttings from diseased plants:
Propagation creates a genetic clone of the mother plant. If the mother plant is suffering from early blight, septoria leaf spot, or a mosaic virus, your cutting will carry that exact same disease. Only propagate from the healthiest, most vigorous plants in your yard.
Tools or products that help
You do not need a high-tech greenhouse to succeed at propagating tomatoes, but having a few specific supplies on hand will drastically improve your success rate.

- Bypass Pruning Snips: A small, sharp pair of micro-tip bypass pruners makes a clean, surgical cut. A clean cut heals and roots much faster than a stem that has been crushed or torn by dull scissors. Wipe the blades with rubbing alcohol before taking your cuttings to prevent disease transfer.
- Rooting Hormone Powder: While tomatoes root easily on their own, dipping the cut end into a commercial rooting hormone powder provides a helpful dose of synthetic auxins (plant hormones) and anti-fungal agents. This speeds up root development by several days and prevents stem rot in the soil.
- Seed Starting Mix: A high-quality, lightweight seed starting mix holds the perfect balance of moisture and oxygen. Heavy potting soils can suffocate new, delicate tomato roots.
- Clear Glass Jars (for water rooting): Mason jars or repurposed glass food jars are perfect. Clear glass allows you to monitor the water clarity and watch the roots grow in real-time, making it easy to know exactly when it is time to transplant.
FAQ
How often does this need to be done?
- Propagating tomatoes is completely optional and does not need to be done on a set schedule. You only need to do it when you want to multiply your existing plants, replace a damaged vine, or utilize the suckers you pruned off your indeterminate tomato varieties.
What happens if this step is skipped or delayed?
- If you skip propagating your tomatoes, nothing negative will happen to your existing garden; you simply will not generate any free, cloned plants. If you delay taking cuttings until very late in the summer, the new clones may not have enough time to mature and produce fruit before the first fall frost kills them.
Do I need special tools for this?
- No special tools are strictly required. You can successfully propagate a tomato using nothing but your fingers to snap off a sucker and a standard kitchen drinking glass filled with tap water to root it.
Can beginners handle this without professional help?
- Absolutely. Tomatoes are widely considered one of the easiest edible plants to propagate, making this an ideal, high-success project for complete beginners and children to tackle without any prior gardening experience.
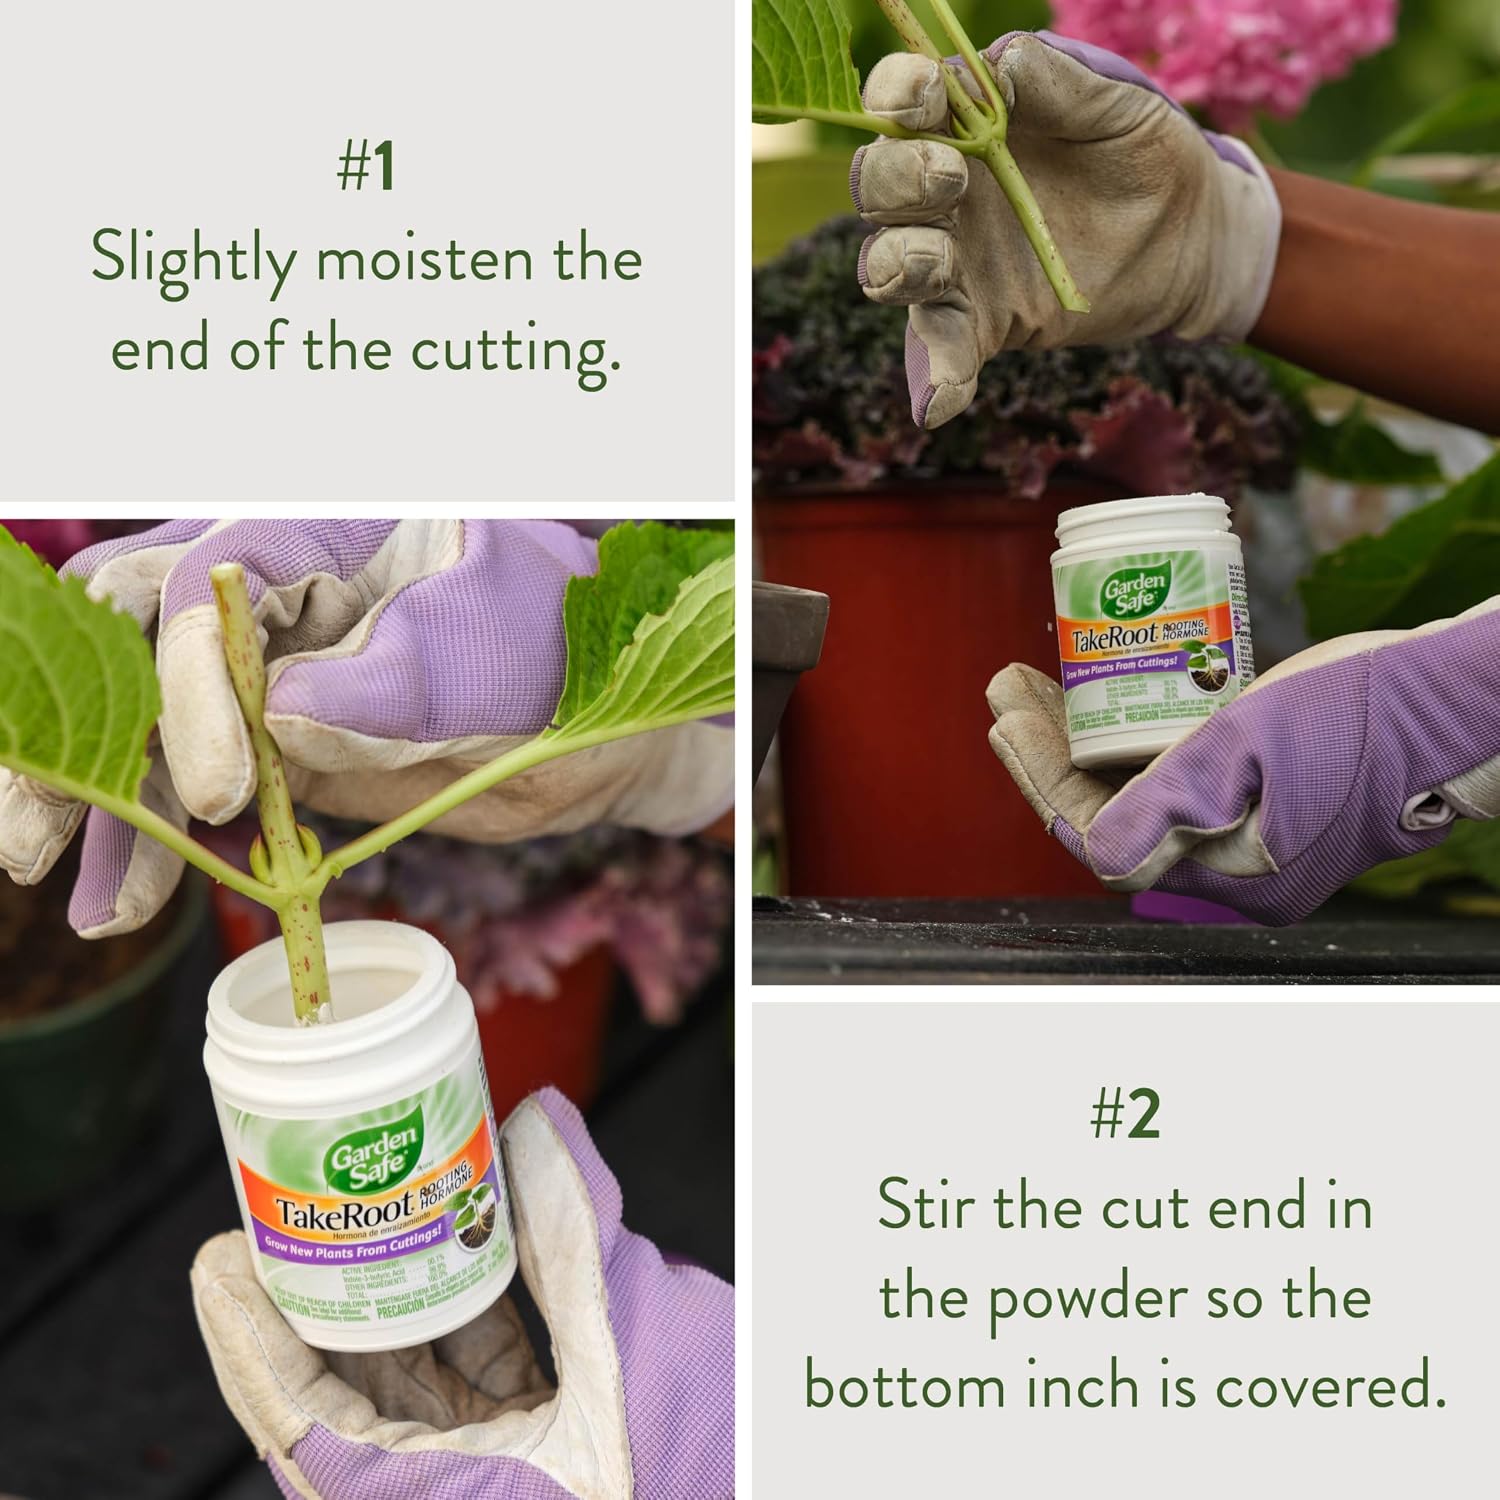
Garden Safe TakeRoot Rooting Hormone
Grow new plants from cuttings • Fast Rooting
The secret to successfully propagating tomato suckers. This ready-to-use rooting powder promotes rapid root development and helps prevent stem rot. Just dip the cutting and plant!
✓ Organic & Easy to Use
