

Growing Tomatoes From Seed & Starting Indoors
Growing tomato plants from seed begins indoors six to eight weeks before your last expected spring frost. Sow seeds a quarter-inch deep in a sterile, moistened seed-starting mix. Keep the soil warm (75°F to 80°F) until germination. Once sprouted, provide 14 to 16 hours of bright overhead light daily, keeping the soil damp but not soggy.
Why this matters for healthy tomato plants
For many home gardeners, the official kickoff to the gardening season does not happen outdoors in the dirt; it happens in late winter under the glow of indoor grow lights. The common garden tomato (Solanum lycopersicum) is a heat-loving plant that requires a long, warm growing season to produce mature fruit. (Note: This guide is strictly for the traditional garden tomato and does not apply to the tamarillo, or “tree tomato” (Cyphomandra betacea), which is an entirely different botanical species with different propagation needs).
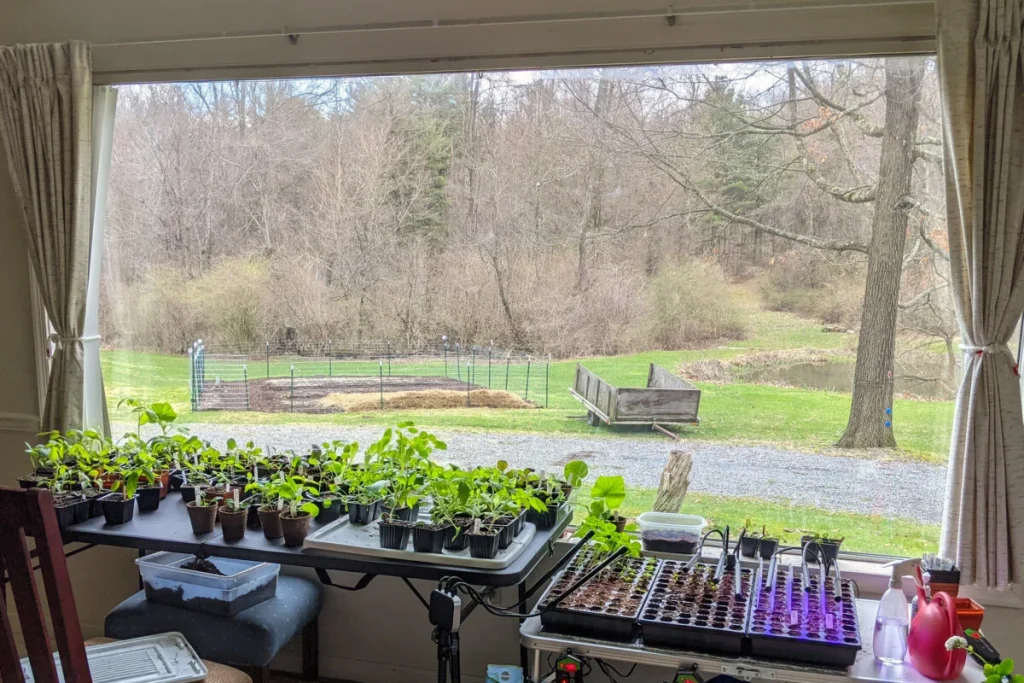
You might wonder why you should go through the effort of growing tomatoes from seeds when you can easily buy established tomato starter plants at your local nursery in May. The answer comes down to three crucial factors: variety, health, and cost.
When you rely on big-box garden centers for your transplants, you are usually limited to a handful of commercially viable, easy-to-ship varieties like ‘Early Girl’ or ‘Better Boy’. By starting your own seeds, you unlock access to thousands of breathtaking heirloom varieties—from the deep purple ‘Cherokee Purple’ to the striped ‘Green Zebra’—that you will never find sitting on a store shelf.
Additionally, growing your own plants from scratch gives you absolute control over their health. Nursery plants are frequently exposed to aphids, spider mites, and early blights that can accidentally be introduced into your pristine backyard garden. By overseeing the entire process from a tiny seed to a robust transplant, you ensure your garden starts the year vigorously healthy, completely organic, and perfectly adapted to your specific care routine. For a complete understanding of how this seed-starting phase fits into the entire lifespan of your crop, be sure to review our Complete Growing Guide.
Step-by-step instructions
Starting seeds indoors might seem intimidating if you have never done it before, but tomatoes are famously cooperative. By following these precise steps, you can cultivate a thriving indoor nursery.

Step 1: Calculate your timing
Timing is the most critical factor when planting tomato seeds. You need to start them indoors 6 to 8 weeks before the average last frost date in your specific zip code. If you start them too early, they will outgrow their pots and become rootbound and stressed before the outdoor weather is warm enough to plant them.
Step 2: Prepare your containers and soil
Do not use potting soil or dirt from your garden. Garden soil is too heavy, drains poorly in small cups, and harbors fungal spores. Instead, use a sterile “seed starting mix,” which is a light, fluffy, soilless blend usually made of peat moss or coco coir and perlite. Pre-moisten this mix in a large bowl until it feels like a damp sponge, then fill your seedling cell trays or small plastic cups.
Step 3: Planting the seeds
Place two seeds on the surface of the damp mix in each individual cell. We plant two just in case one fails to germinate. Cover them gently with about a quarter-inch of the seed starting mix, and press down very lightly so the seeds make firm contact with the damp medium.
Step 4: Create a warm germination environment
Tomato seeds do not need light to germinate; they need warmth and humidity. Place a clear plastic humidity dome over your trays to lock in moisture. For the best germination rates, place the trays on a seedling heat mat set to 75°F to 80°F. You should see little green loops breaking through the soil surface in 5 to 10 days.
Step 5: Provide intense light
The moment the first tomato seedling breaks the surface of the soil, remove the humidity dome and turn off the heat mat. The plants now desperately need light. Suspend a full-spectrum LED grow light exactly 2 to 4 inches above the top of the seedlings. Leave the lights on for 14 to 16 hours a day. As the plants grow taller, raise the lights to maintain that 2- to 4-inch gap.
Step 6: Thinning, up-potting, and feeding
When the seedlings develop their first set of “true leaves” (the second set of leaves that actually look like jagged, miniature tomato leaves, rather than the smooth initial seed leaves called cotyledons), use small scissors to snip off the weaker of the two plants in each cell. This leaves one strong plant per cell. At this stage, the nutrients in the seed are depleted, and you must begin fertilizing tomato seedlings. Use a liquid organic fertilizer diluted to one-quarter (1/4) of the normal recommended strength once a week. When the plants reach 3 to 4 inches tall, gently transplant them into slightly larger 4-inch pots (a process called “up-potting”) so their roots have room to expand.
Step 7: Hardening off
About a week before your last frost date, you must “harden off” your tomato seedlings. Hardening off is the gradual process of acclimating indoor plants to the harsh outdoor elements (direct UV sunlight, wind, and fluctuating temperatures). On day one, place them outside in full shade for two hours. Over the next 7 to 10 days, gradually increase their time outdoors and their exposure to direct sunlight. After this transition period, they are ready to be planted in the garden.
Tomato Seedling Growth Stages & Requirements
| Growth Stage | Timeline | Temperature Requirement | Light Requirement | Moisture & Feeding |
|---|---|---|---|---|
| Sowing & Germination | Days 1 to 7 | 75°F – 80°F (Heat Mat) | None required | Keep soil consistently moist; covered with humidity dome. |
| Emergence (Cotyledons) | Weeks 1 to 2 | 65°F – 70°F (Room Temp) | 14–16 hours daily (2″ above leaves) | Water when topsoil dries. No fertilizer yet. |
| True Leaves Form | Weeks 3 to 4 | 65°F – 70°F | 14–16 hours daily | Apply 1/4 strength liquid fertilizer weekly. |
| Up-Potting | Weeks 4 to 6 | 65°F – 70°F | 14–16 hours daily | Keep soil damp but not soggy. Use 1/2 strength fertilizer. |
| Hardening Off | Weeks 7 to 8 | 55°F+ (Outdoor temps) | Gradual transition to full outdoor sun | Water daily if outdoor wind/sun dries pots quickly. |
Common mistakes to avoid
Growing robust transplants is a balancing act. Avoid these frequent beginner pitfalls to ensure your indoor garden thrives.
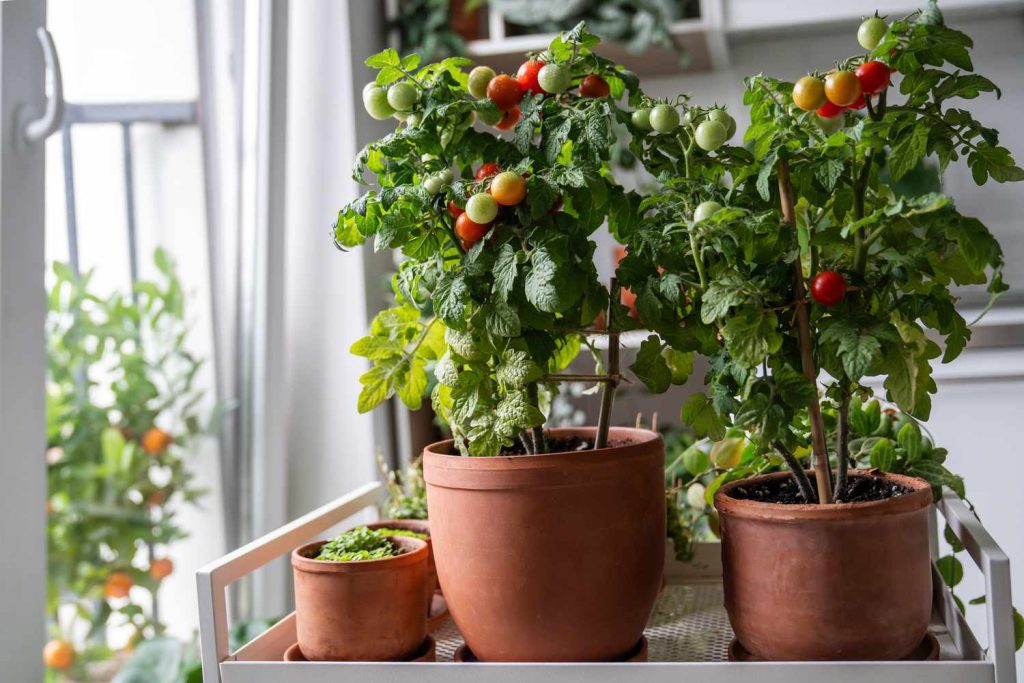
Growing “leggy” seedlings
This is the most common mistake home gardeners make. If you try to grow your seedlings on a sunny kitchen windowsill, the plants will stretch out, searching for more light. They become incredibly tall, pale, and spindly with weak stems—a condition known as being “leggy.” A windowsill simply does not provide enough direct, intense light. You must use dedicated grow lights positioned just a few inches above the foliage to grow short, stocky, and strong plants.
Overwatering and “Damping Off”
Seedlings do not need to sit in a swamp. If you constantly flood the trays with water and leave the humidity dome on after the seeds have sprouted, you invite a lethal soil-borne fungal disease known as “damping off.” This fungus attacks the base of the stem at the soil line, causing the previously healthy seedling to pinch off, fall over, and die overnight. Always let the top surface of the soil dry out slightly between waterings, and ensure good airflow in your growing room.
Skipping the hardening off process
Indoor seedlings have never felt the wind or the intense ultraviolet rays of the actual sun. If you take a tomato seedling straight from your cozy indoor grow rack and plant it directly into the sunny garden on a warm May afternoon, the plant will suffer severe transplant shock. The leaves will suffer from literal sunburn (turning crisp and white), and the plant will likely die. You must never rush the 7-to-10-day hardening-off transition.
Tools or products that help
While a seed and some dirt are the bare minimum, equipping your indoor setup with a few specialized tools will dramatically increase your germination rates and the overall vigor of your plants.
- Sterile Seed Starting Mix: Do not compromise here. A high-quality, lightweight, peat- or coir-based mix ensures tiny roots can easily push through the medium without battling compacted soil or fungal diseases.
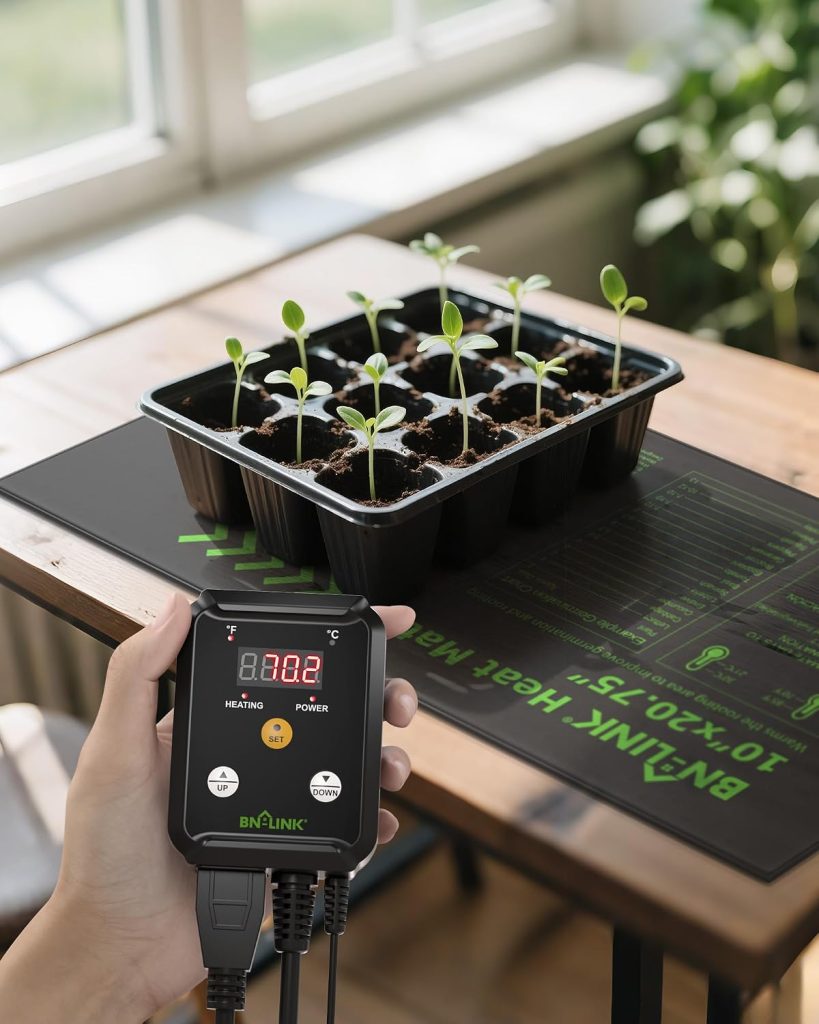
- Seedling Heat Mat: Tomato seeds are triggered to sprout by warm soil temperatures. A waterproof electric heat mat placed under your trays guarantees the soil hits the sweet spot of 75°F to 80°F, cutting germination time in half.
- Full-Spectrum LED Grow Lights: The absolute key to avoiding weak, leggy plants. LED panel lights or hanging strip lights provide the exact spectrum of light plants need for photosynthesis without generating excessive heat that could burn the tender leaves.
- Cell Trays and Humidity Domes: Standard 72-cell plastic propagation trays with matching clear plastic domes create a miniature, highly controlled greenhouse environment on your countertop.
- Liquid Organic Fertilizer: Look for a gentle, water-soluble organic fertilizer, such as fish emulsion or liquid kelp. Because young seedlings have highly sensitive roots, chemical fertilizers can easily burn them, making gentle organic feeds the safest option.
FAQ
How often does this need to be done?
- Growing tomato plants from seed is an annual task that should be done once a year in late winter or early spring. Because garden tomatoes are grown as tender annuals in most climates, you will need to start a fresh batch of seeds every year roughly 6 to 8 weeks before your last spring frost.
What happens if this step is skipped or delayed?
- If you skip starting seeds entirely, you will be forced to purchase commercial tomato starter plants from a nursery, limiting your variety options and increasing your garden costs. If you delay planting your seeds and start them too late in the spring, your harvest will be significantly delayed, and the plants may not have enough time to mature and produce ripe fruit before the autumn frosts arrive.
Do I need special tools for this?
- While you can technically germinate seeds in a sunny window, using specialized tools like a seedling heat mat and overhead LED grow lights will drastically improve your success rate. These tools prevent the most common causes of seedling failure: poor germination due to cold soil and weak, leggy stems caused by insufficient light.
Can beginners handle this without professional help?
- Absolutely; starting seeds indoors is one of the most accessible and rewarding tasks for beginner gardeners. As long as you follow basic guidelines regarding light proximity, proper watering, and a gradual hardening-off period, you can easily raise professional-quality transplants in your own home.
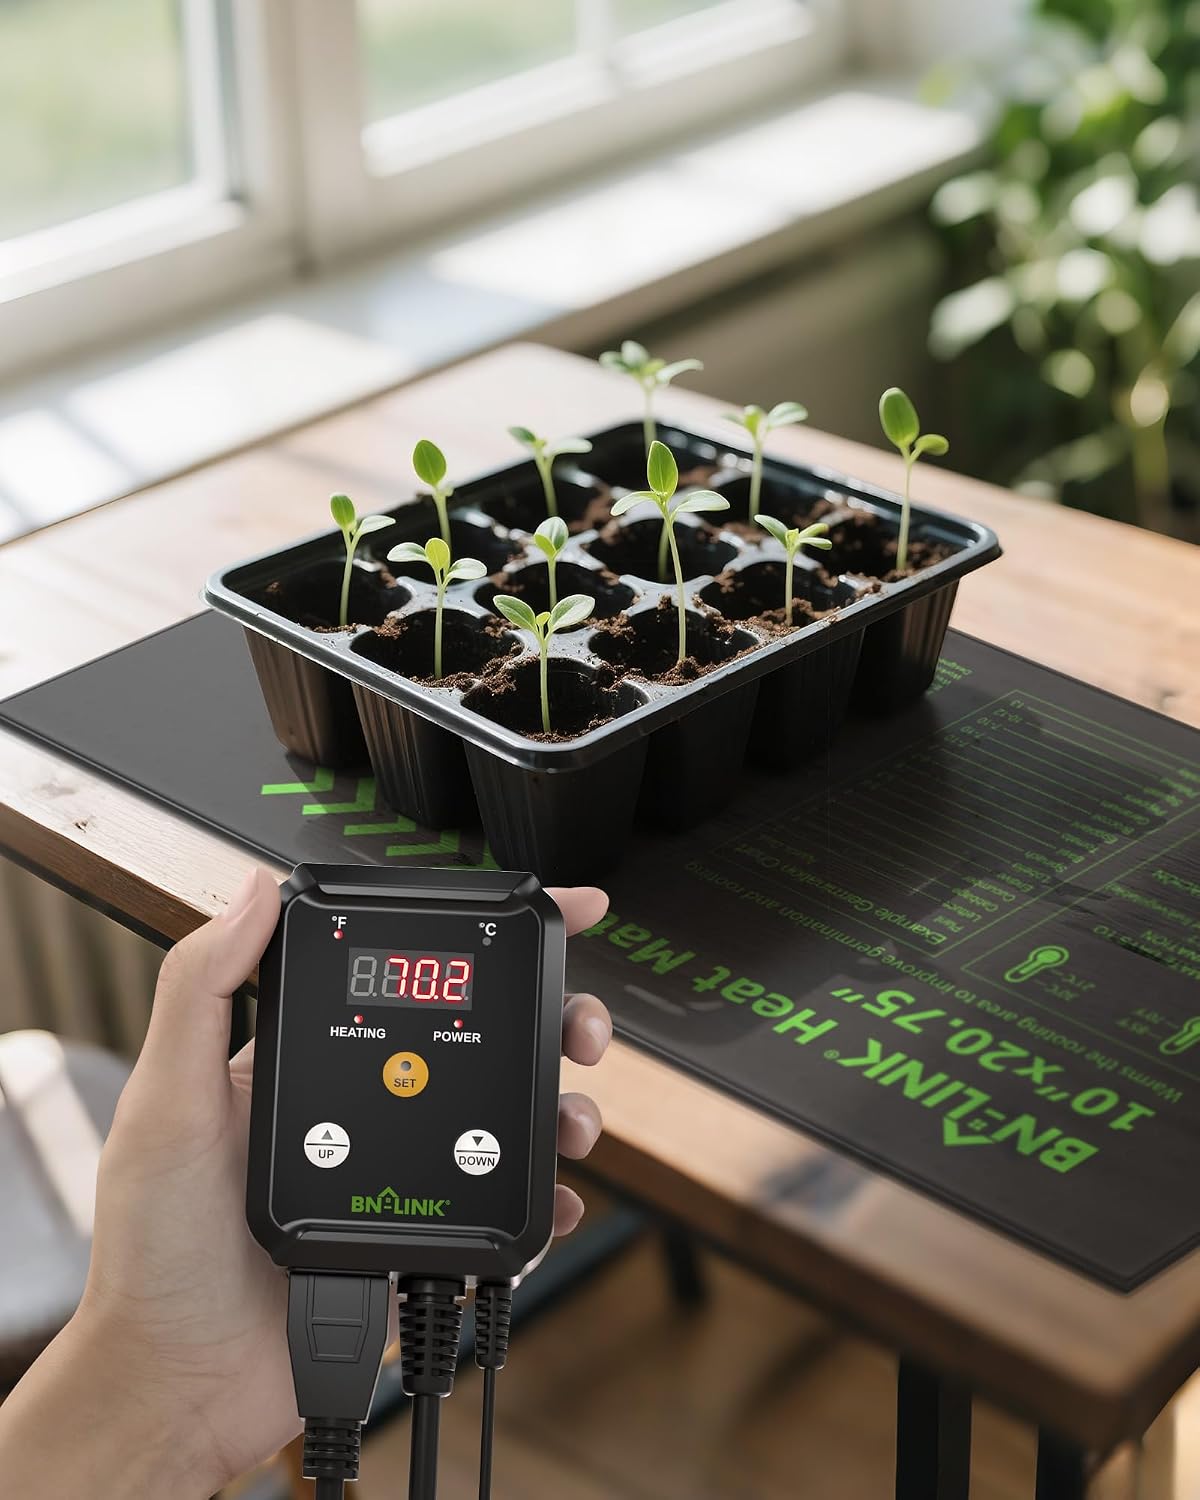
Seedling Heat Mat & Thermostat Controller Combo
Precise Temperature Control • Waterproof • Speeds Germination
The secret to perfect tomato germination. This waterproof heat mat combined with a digital thermostat ensures your soil stays at the exact 75°F to 80°F sweet spot, producing strong, healthy sprouts in days rather than weeks.
✓ Essential for Starting Seeds
